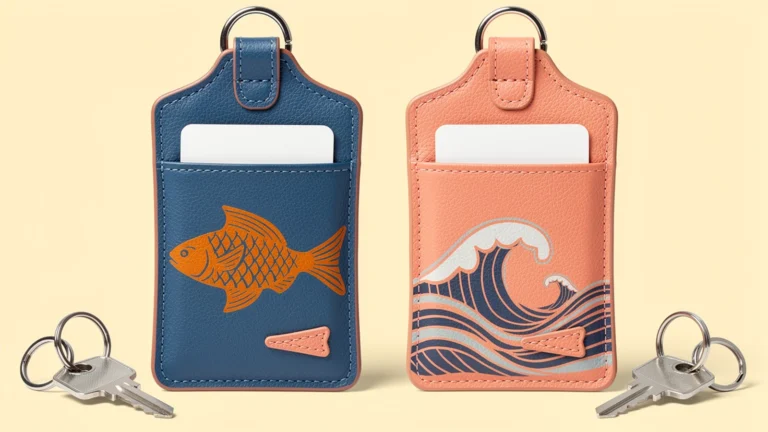
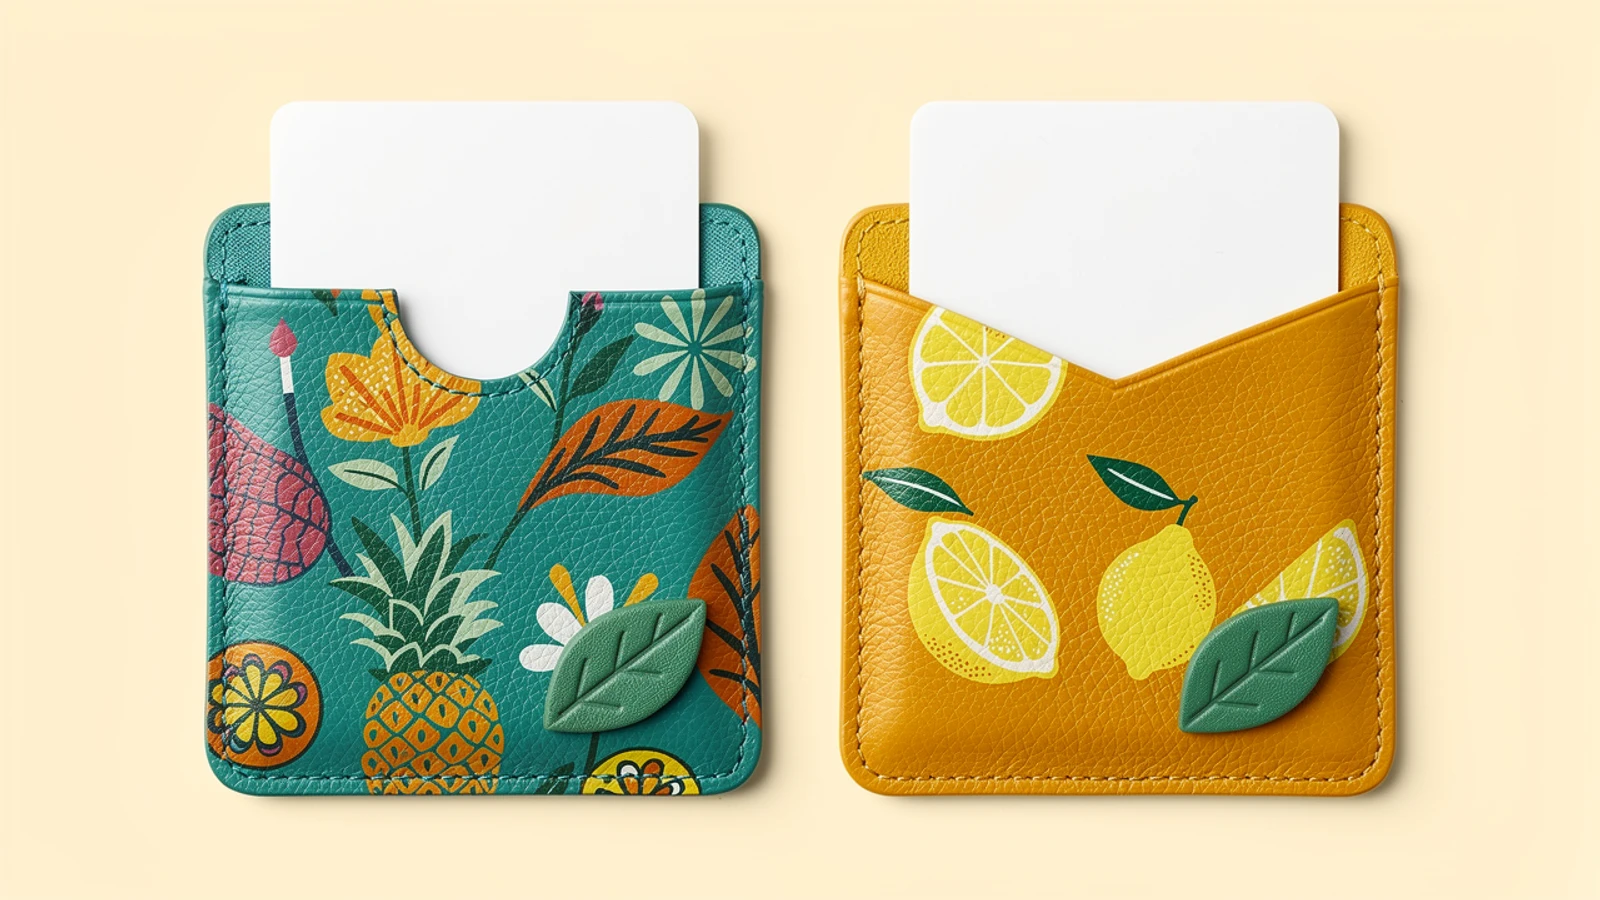
Images are AI-generated design concepts, not production photographs or approved Xinchao specifications. PU denotes synthetic leather, not genuine leather.
An easy-access pass case needs a clear way to start moving the card, enough room to grip it and a pocket that still holds it as intended. A shallow notch, slanted pocket edge and thumb push hole solve different parts of that task. Choose the movement first, then arrange the printed artwork around the opening.
For a Japan-facing custom printed PU leather card holder, this is a design-review question rather than a promise of universal ease of use. PU is synthetic leather, not genuine leather. The proposed geometry must be checked with the actual card, any sleeve and the intended users' routine before a performance claim is made.
Describe the complete removal action
Write down how the card is meant to leave the holder. Does the user grip an exposed upper edge and pull? Push the card upward through an opening, then grip it? Remove the holder from a strap first? Each sequence requires different access space, and the first motion is only part of the task.
For example, a push hole may help start movement but still leave too little card exposed to grip comfortably. A deeper top cutout may expose more card but change the area supporting it. Neither is automatically a better design. Compare the full action of taking the card out and putting it back.
Use the intended card and record whether a sleeve is included. Do not silently add stacked cards to a pocket designed for one. If the brief requires gloves or another particular condition, include that condition in the review instead of inferring suitability from an empty sample.
Compare three opening strategies
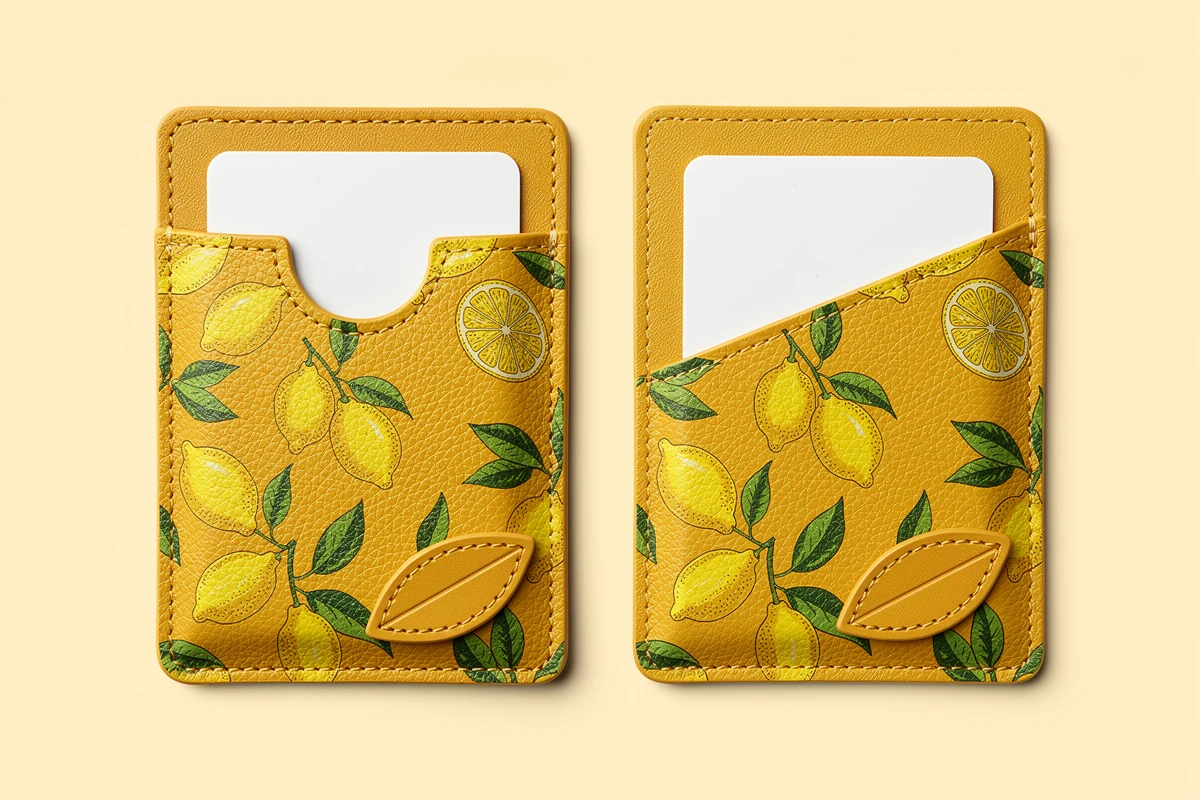
A top notch provides a place to reach the card edge. A slanted pocket edge exposes more of one side of the card. A thumb push hole provides access to the card surface through the pocket panel. These features can be considered separately or combined, but their roles should remain clear in the specification.
Japanese product examples show that access geometry is a real design choice. HIRAMEKI.'s official round-series pass case page describes a slanted cut for card removal. This is an example of the approach, not comparative test evidence and not a basis for copying its material or dimensions into a custom PU brief.
| Feature | Intended action | What to review |
|---|---|---|
| Shallow top notch | Grip the card edge | Enough exposed edge without an obstructing seam |
| Slanted pocket edge | Grip from an exposed side | Preferred hand and support around the card |
| Thumb push hole | Move the card before gripping | Finger access, card movement and final grip |
| Combined features | Push, then pull | Complete sequence rather than each feature alone |
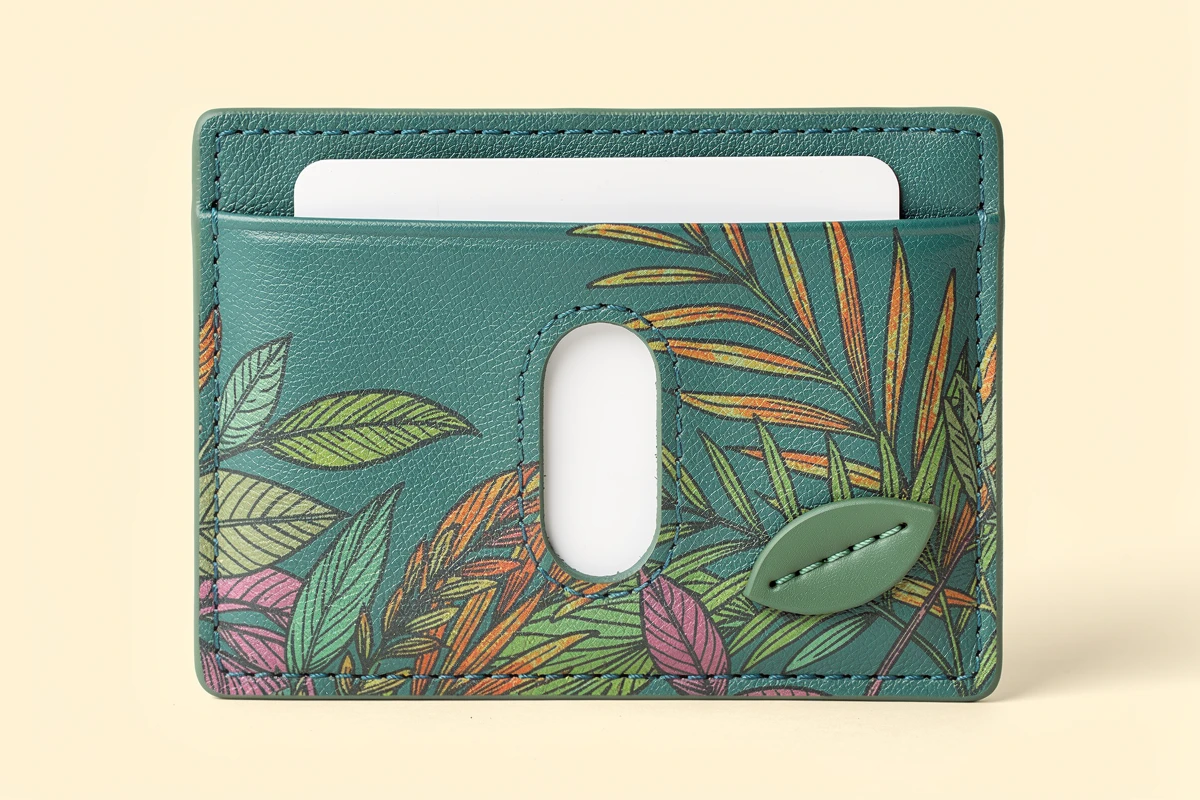
Do not confuse an open finger-access hole with a clear display window. Transparent film covering the opening may prevent direct contact with the card. If both visibility and pushing access are required, the actual layers and openings must be shown in the construction drawing.
Specify the opening relative to the seated card
Mark the card's normal seated position, the pocket's usable boundary and the cutout on the same drawing. The outside shape of the holder is not a sufficient reference. A correctly placed opening must work after the seams, lining and other layers are assembled.
For a thumb hole, identify which material layers are open and which remain behind the card. The drawing should not suggest a hole through the card itself. Check that a reviewer can touch the intended card surface and move it in the intended direction without a lining layer blocking the action.
For a notch or slanted edge, check the real card exposure rather than only the appearance of the cut. If the card sits lower than expected, the cut may not provide the planned grip. Do not solve that by stretching or trimming a finished sample without an agreed design change. If the pocket is simply too tight, use the separate tight card holder troubleshooting guide rather than treating every fit issue as an opening-shape problem.
Test access and retention as separate outcomes
Agree a short review sequence: insert the card normally, carry or position the holder as intended, remove the card and insert it again. Record whether the reviewer can start the motion, establish a grip and complete removal without an unintended bend or workaround. Repeat the comparison under the same agreed conditions when a design is revised.
Then examine retention independently. Easier access is not proof that the card will remain in place during the intended routine. Conversely, a card that stays in place is not proof that removal is acceptable. Define the handling conditions and acceptance criteria with the buyer and supplier instead of inventing a universal pull force or test-cycle count.
Keep the attachment fitted during checks if it is part of the product. A clasp, strap or decorative tab can occupy the space needed by the hand. Check the holder in the intended orientation, not only flat on a table. A visual mockup cannot establish accessibility for all users or justify a one-handed-use claim.
Plan multiple pockets one opening at a time
One or two independent card pockets can be a useful starting brief. Three to five are possible design proposals when the carrying task calls for them, but each opening needs its own check. A thumb hole in the front pocket does not automatically help remove a card from a pocket behind it.
Label the pockets and state which card goes where. Test the agreed complete load. A second card or a sleeve may change how the pocket sits, so a successful empty-holder comparison is not enough. Keep the independent pocket count, intended card capacity and number of visible faces as separate specification fields.
Where contactless reading is intended, confirm it with the relevant card and reader setup. A more exposed card edge or an access hole does not establish reader compatibility. If the card must be removed, the removal sequence should be part of the approved use scenario rather than an afterthought.
Let the artwork follow the functional cut
Place the main illustration after the opening has been defined. A lemon, leaf or other original motif can frame a notch or hole without requiring the cut to pass through a small focal detail. Review how much of the printed design is visible with the card seated, partly removed and absent.
Keep important text and fine details away from the cut edge and nearby stitching according to the supplier-confirmed artwork template. There is no universal margin suitable for every material and construction. If the opening changes, revise the print boundary and proof instead of keeping the previous artwork file by default.
A decorative irregular outline is a separate decision from the access cut. Likewise, a thin stitched PU overlay should stay away from the finger path. It can add a physical layered effect at another corner, but should not be drawn as a thick molded object. Do not present a printed shadow as a separate functional layer.
Approve geometry and print together
Keep the final drawing, card and sleeve references, material identification, artwork version and assembly details in one record. Photograph the actual sample with the card fully seated and partly removed. Record the full removal sequence and any remaining limitations that the buyer accepts.
An RFQ should state the desired opening strategy, card load, pocket count, attachment, artwork versions and quantity. Ask the supplier to confirm feasibility, sample arrangements, minimum order and timing for that brief. The Xinchao leather card holder overview provides the product starting point; the approved hand movement and pocket geometry define this variation.
FAQ
Is a thumb hole the same as a clear window?
No. A thumb hole allows direct access to the card surface through an opening. A display window may be covered by transparent film, so the construction must be specified separately.
Is a deeper notch always easier to use?
Not necessarily. Review the exposed card edge, grip and surrounding support together. A larger cut is not a substitute for checking the complete removal and reinsertion sequence.
Can one opening design work for every pocket?
Do not assume so. Check each independent pocket with its intended card and the full agreed load. An access feature on one panel may not help the pockets behind it.
Does easy removal mean the card is securely retained?
No. Access and retention are separate outcomes. Agree the handling conditions and acceptance criteria, then review both on the actual sample.
What should be supplied for a custom opening design?
Provide the intended card and sleeve information, pocket count, removal sequence, opening proposal, attachment, artwork and quantity. Keep final geometry and print revisions linked in the approval record.
To discuss an easy-access printed pass case, send Xinchao your intended removal sequence with the card configuration and opening concept.