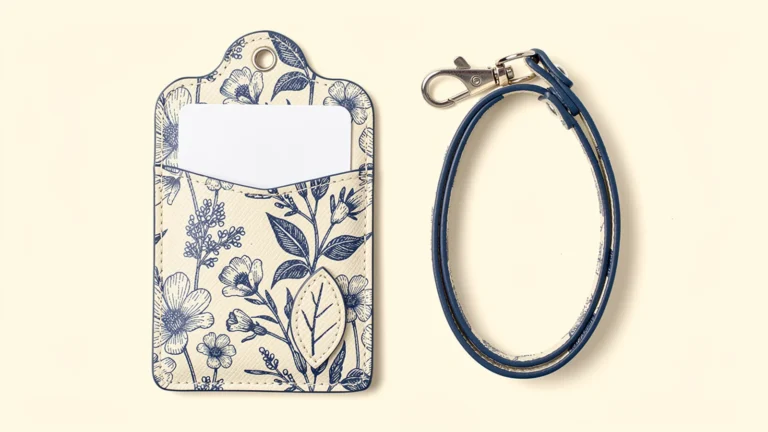

Images are AI-generated design concepts, not production photographs or approved Xinchao specifications. PU denotes synthetic leather, not genuine leather.
A double-sided printed pass case needs two coordinated artwork layouts, not one illustration copied onto the back. Define the front, pocket face, top direction and visible print areas before preparing the files. Then approve the assembled holder with cards inserted: a design can look complete on a flat drawing while a pocket lip, seam or card hides an important detail.
For Japanese-market original merchandise, the front can carry the main illustration and the reverse can use a supporting pattern or a smaller brand mark. The aim is to make both faces intentional without treating every surface as an uninterrupted canvas. This guide focuses on that front-to-back design decision, rather than general printing methods or logo file preparation.
Define what double-sided printing includes
Start with a face map. Call the main illustration face A and the reverse face B, then name each separate pocket panel. If a transparent window, hanging tab or attached decorative piece is present, identify it separately. A quotation saying “double-sided” does not by itself establish that every component, inner surface or cut edge is printed.
Japanese supplier Graphic lists a PU IC card case with optional double-sided printing and a required artwork template. That is a useful example of the product category, not a specification for every pass case or a promise that another factory uses the same process. Obtain the template for the exact construction being ordered.
In your request, distinguish the number of printed faces from the number of independent pockets and the number of cards to be carried. One pocket can have artwork on both external faces. Two printed faces do not mean two slots, and two slots do not establish an approved capacity for every card thickness.
Give the front and reverse different jobs
Choose a focal point for face A: an original bird illustration, a landscape or another authorized design. For face B, consider a repeat pattern, a simplified companion motif or a compact brand mark placed on a panel that remains visible. Both faces can share colors without repeating the same large composition.
An asymmetric outer silhouette needs its own reverse view. A leaf-shaped extension that appears on the left when viewed from the front appears on the right when the holder is turned over. This does not mean that the lettering or entire artwork should be mirrored. Ask for front and reverse assembled views, with the viewing direction made explicit.
Define what counts as “upright.” A drawing with both pictures facing the same way on a screen is not enough if the attachment or pocket opening is at a different end. Mark the top and attachment location in the approval file, outside the printable artwork layer. Review Japanese lettering at actual size with a competent language reviewer; do not treat generated image text as a print proof.
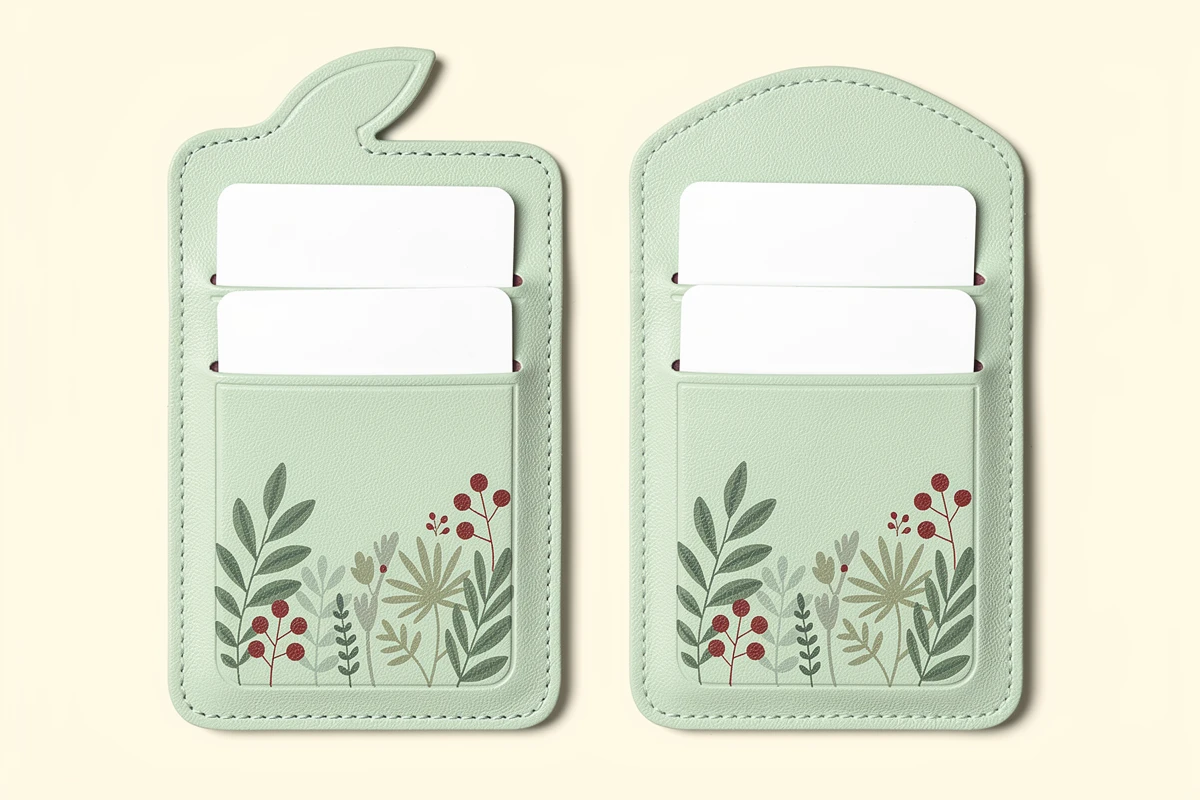
Map visible print areas around the pockets
Separate the material that can receive ink from the area that will be visible after assembly. A lower pocket panel can cover part of the panel behind it. A card projecting above an opening changes the visible composition again. Review the holder both empty and loaded with the intended inserts.
| Area | Artwork decision | Sample check |
|---|---|---|
| Main front panel | Place the focal illustration within the confirmed safe area | Important details remain clear of seams and hardware |
| Reverse pocket panel | Use a self-contained motif or pattern | Opening and thumb notch do not interrupt essential information |
| Exposed strip above a pocket | Reserve only artwork that can remain visible | Inserted cards do not hide required wording |
| Window surround | Treat the opening and clear component separately | Print does not obscure the intended display area |
| Decorative extension | Use its own contour and orientation reference | Reverse appearance and attachment are acceptable |
For a two-pocket reverse, do not assume a continuous picture will join perfectly across the two openings. Ask the supplier to explain the assembly and registration constraints before choosing that effect. A deliberately separated pattern can be an alternative when a small visual offset would spoil a continuous illustration.
Three to five independent pockets can be considered where the carrying task requires them. Each additional panel needs its own visible-area check. See the pass case pocket-layout guide for separating pocket count, card capacity and display faces; more storage is not automatically a better artwork surface.
Use the exact template, not a universal margin
Request the current drawing for the chosen material, silhouette, pocket arrangement and attachment. It should identify the cut outline, stitching, openings, holes and the supplier's printable and safe areas. Confirm whether the artwork is prepared for separate components or for another production sequence; do not infer the manufacturing method from a product photograph.
Keep the cut line, stitching guide and other construction information separate from production artwork as the supplier requests. Ask for required bleed, file format, color setup and treatment of fonts. Do not apply a universal millimeter margin or color mode borrowed from a different product. If a white ink layer is relevant, its need and preparation should be confirmed for that material and process.
Send a combined visual proof showing how face A and face B belong together, as well as the required production files. Use a shared design code and revision so an updated front is not paired with an obsolete reverse. When a pocket or outline changes, recheck both artwork files even if only one face appears affected.

Add irregular shapes and layers deliberately
An irregular outline can support the illustration while leaving a practical card cavity inside. A thin, separately printed PU leaf or other decorative piece can add physical depth. Specify that piece as a component, including its attachment and visible reverse, rather than using a printed shadow as the only description.
Check the layered design from both faces and from the edge. An attractive front applique may have an unfinished-looking back when the holder turns. It should not obstruct a pocket opening or be assumed secure simply because it looks attached in a rendering. Confirm the actual construction and any agreed checks on the sample.
PU is synthetic leather, not genuine leather. A layered sheet construction is also not the same as a molded figure or a 3D-printed part. The die-cut and layered pass case guide covers the broader design choices. The images here illustrate concepts, not verified production tolerances or manufacturing performance.
Approve a matched front-and-back sample
Use the assembled sample to answer a short set of questions: are the correct two designs paired, are both upright as intended, are critical details visible, and can the cards be inserted and removed without an artwork feature obstructing access? Review the actual intended card combination rather than an empty case alone.
Compare both faces under the same agreed viewing conditions. Similar artwork can look different on different base colors or textures; a screen image is not a physical color standard. Record the approved materials, artwork revisions and sample reference. If abrasion, color transfer or another performance requirement matters, agree on a test method and acceptance criteria instead of assuming double-sided print guarantees durability.
For a range of designs, keep a pairing list: design code, front revision, reverse revision, material and quantity. Include whether all designs share one reverse or require individual backs. This is more useful than a folder of files named only “front-final” and “back-new.” It also makes a sample change traceable without relying on memory.
Prepare a face-by-face inquiry
Send the intended use, material, actual insert dimensions, independent pocket count, desired capacity, front and reverse layouts, outer contour, layered components, attachment, packaging and quantity per design. Ask which surfaces are included in the printing quotation and which details require sampling.
The Xinchao leather card holder page is the starting point for discussing material, printing and custom shape options. Treat your chosen double-sided layout as a project specification to confirm, not as proof of a standard stocked model or a guaranteed production schedule.
FAQ
Does double-sided printing mean the pass case has two pockets?
No. Printed faces, independent pockets and card capacity are separate specifications. State all three in the inquiry and verify the intended card combination on the sample.
Can the front and reverse use different illustrations?
They can be proposed as separate layouts. Confirm the printable areas and production requirements for the chosen construction, and approve the two artwork revisions as a matched pair.
Should the reverse artwork be mirrored?
Do not mirror the entire design automatically. Confirm the reverse-view contour and top direction in the supplier's template while keeping lettering readable in the intended assembled view.
Can one image continue across several pocket panels?
That effect needs specific review. Pocket openings, overlapping panels and assembly alignment can interrupt the image, so confirm feasibility and approve the assembled sample rather than relying on a flat mockup.
Is every surface included in a double-sided printing quotation?
Not necessarily. Identify the front, reverse pocket panels, tabs, decorative pieces, inner surfaces and edges separately, and ask the supplier to state which areas are included.
To discuss double-sided printed pass cases, send Xinchao a front-and-back layout with the pocket arrangement so the artwork and construction can be reviewed together.